
The LiveCase MCP plugin connects an AI assistant to your LiveCase authoring tools. You can discuss a teaching idea, inspect an existing case, and ask the assistant to save agreed changes directly in LiveCase.
MCP stands for Model Context Protocol, a standard for connecting AI assistants to other applications. Depending on your assistant, the connection may be called a plugin or a connector. The same LiveCase authoring tools can be used from different compatible assistants. Installation and authentication depend on the client; you do not need to write code for the conversational clients.
Watch the walkthrough
See how to connect LiveCase and develop a case through conversation. This two-minute walkthrough demonstrates ChatGPT; use the client-specific instructions below for other agents.
Choose your assistant
Choose the assistant you already use and your institution supports. You only need to follow one setup route. The examples later in this guide apply across clients once LiveCase is connected.
Before you connect
Use the LiveCase account that owns the case or has author access to it. You also need an AI account or institutional workspace that permits custom MCP connections. Your workspace administrator may need to enable or add the connection.
Use an AI service approved for your teaching materials, and check your institution's requirements before sharing confidential case material or personal information.
The LiveCase server address is:
https://www.livecase.com/api/v2/mcpAuthenticate through the LiveCase sign-in screen when prompted. Do not paste your LiveCase password into an AI conversation.
ChatGPT
Install the published plugin
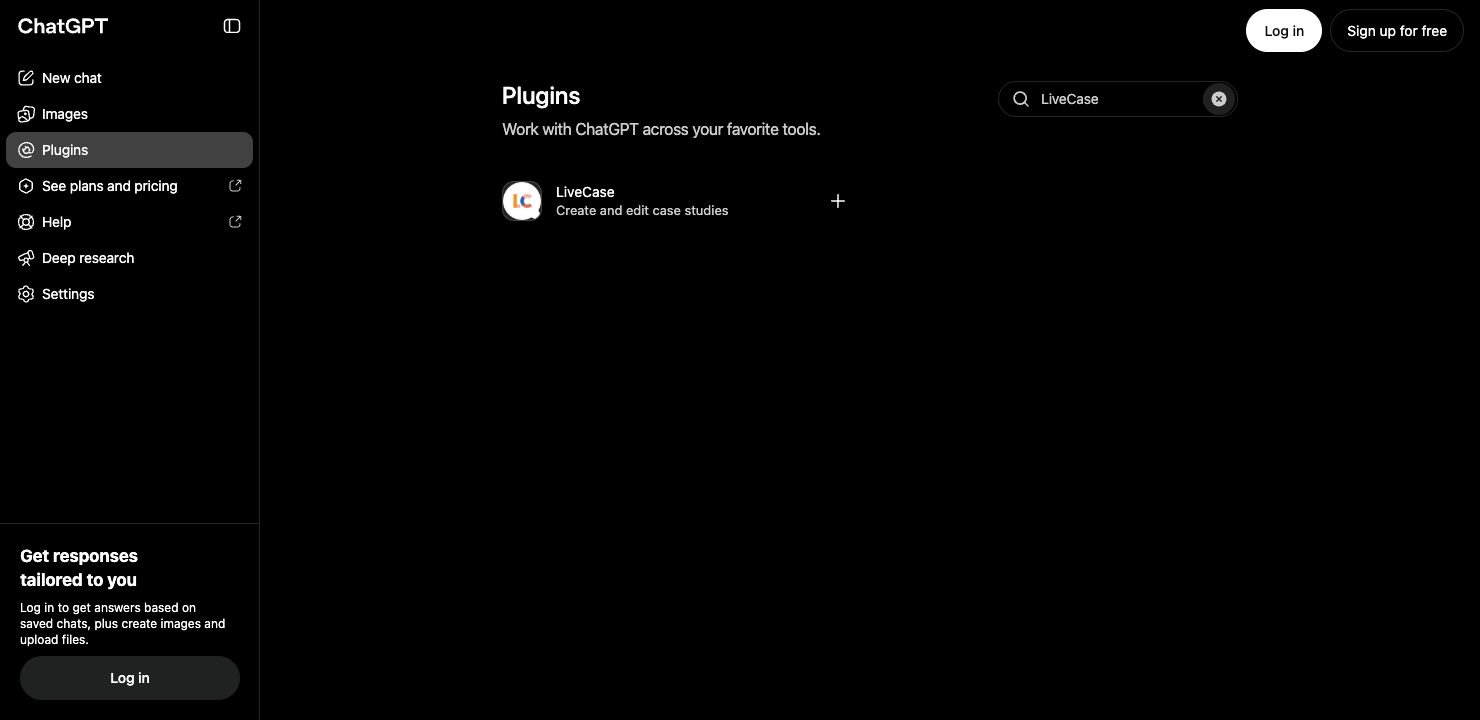
- Open LiveCase in the ChatGPT plugin directory, or search for LiveCase in Plugins.
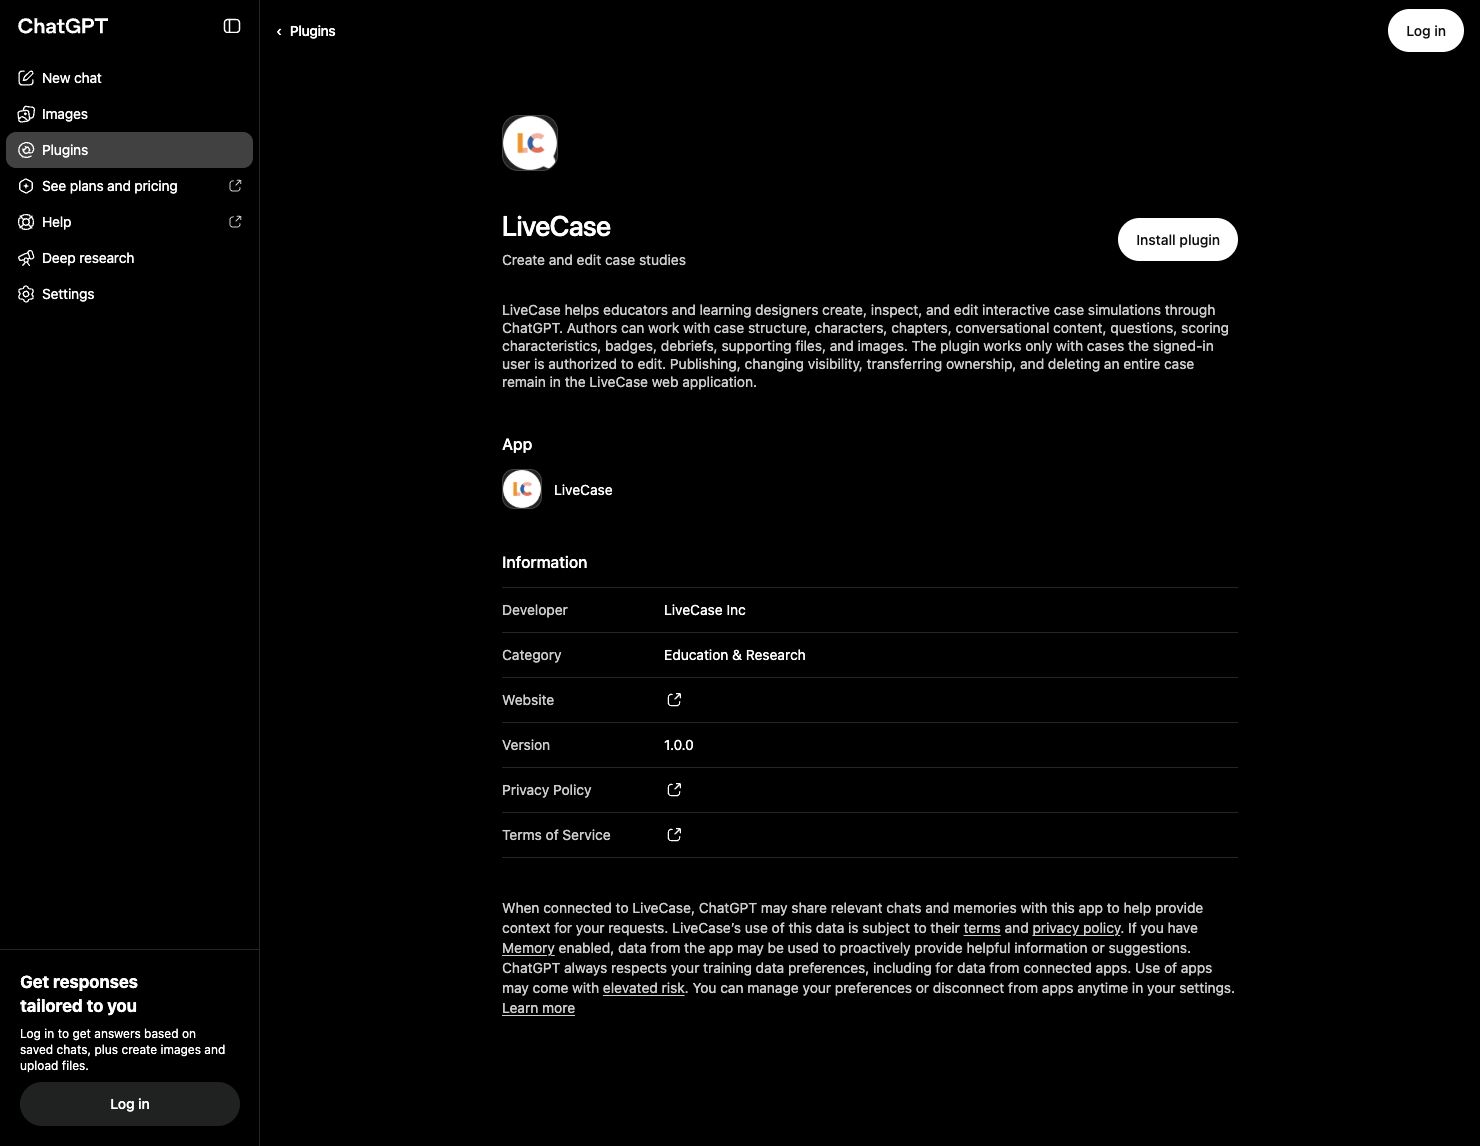
- Select Install plugin. Sign in to ChatGPT if required, then connect your LiveCase account and review the permissions requested.
- In a conversation, type @ and select LiveCase. Start with the read-only check below.
Alternative: add a custom MCP connection
If your workspace requires a custom connection, open Plugins > + > Add custom MCP server. Name it LiveCase, enter the server URL above, and choose OAuth. Review the notice, choose Create as a plugin, then install and connect it. Follow OpenAI's custom connection instructions for your workspace. Avoid adding a second connection if the published plugin already works.
Claude
For an individual account, open Customize > Connectors, select + Add, then Add custom connector. Name it LiveCase and enter the server address above.
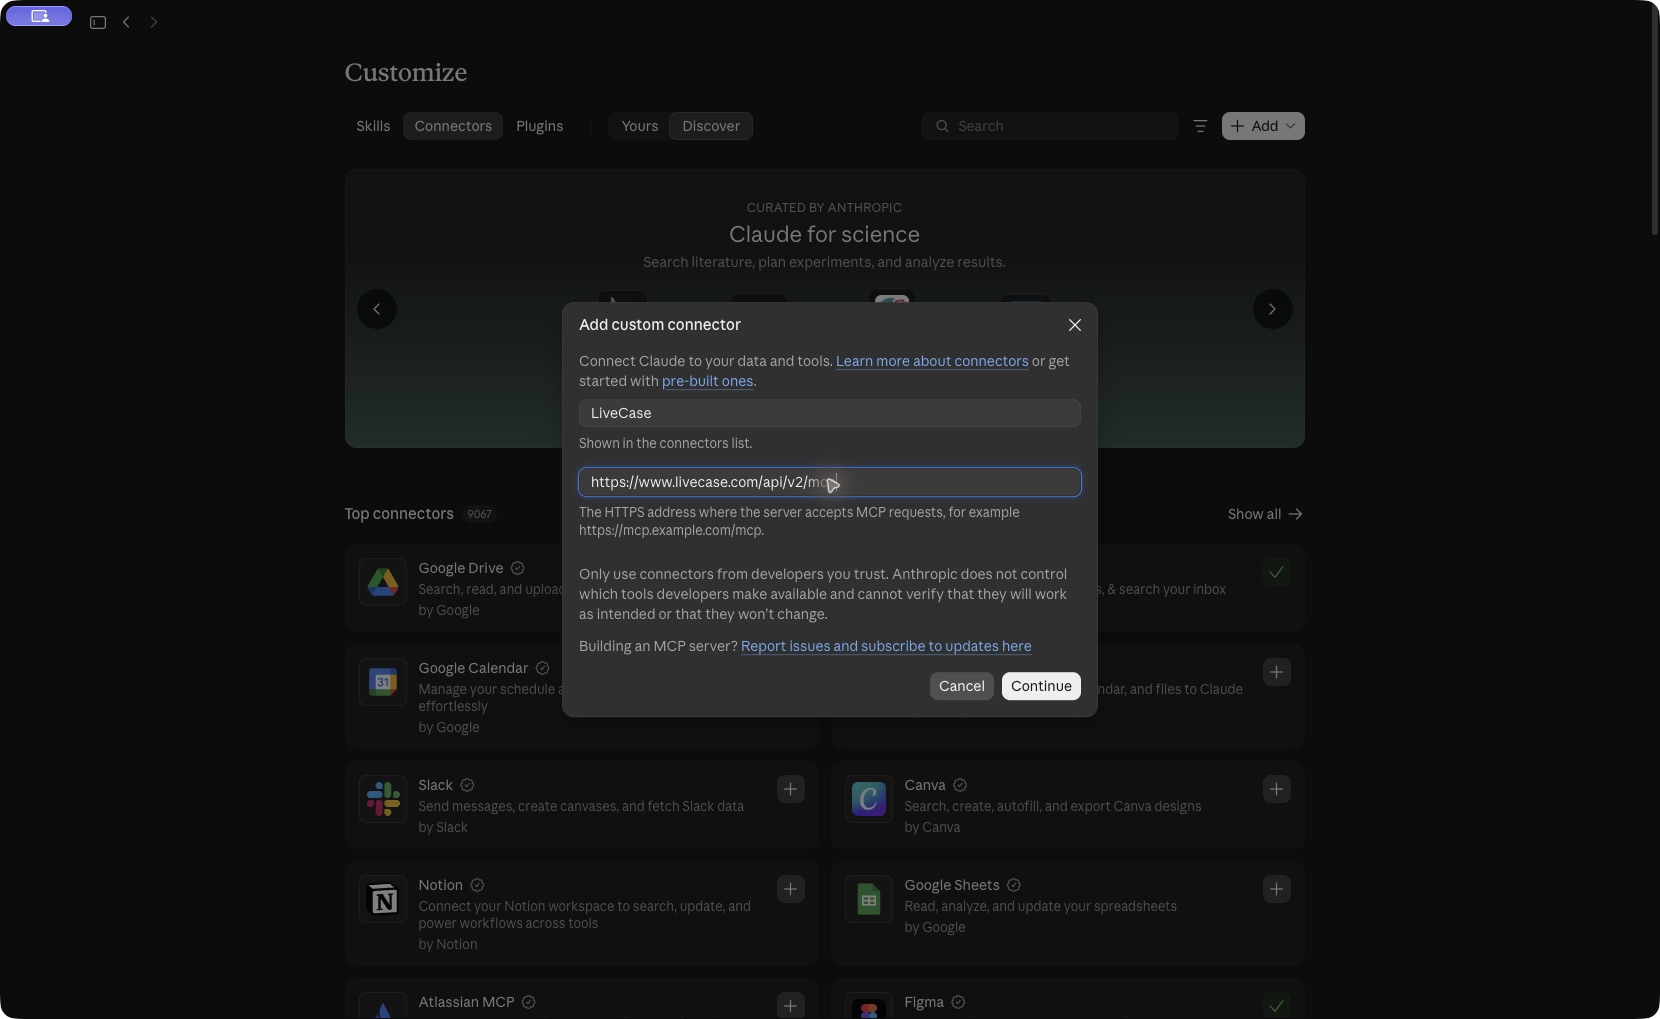
Review the detected OAuth settings. Choose Sign in now and, if an OAuth client option is required, Register automatically. Complete the connection and sign in to LiveCase when prompted.
For a Team or Enterprise workspace, an authorised administrator first adds the connector through Organization settings > Connectors. Members then find it under Customize > Connectors and select Connect with their own accounts.
If LiveCase already appears in your connectors, open that entry and choose Connect rather than adding it again.
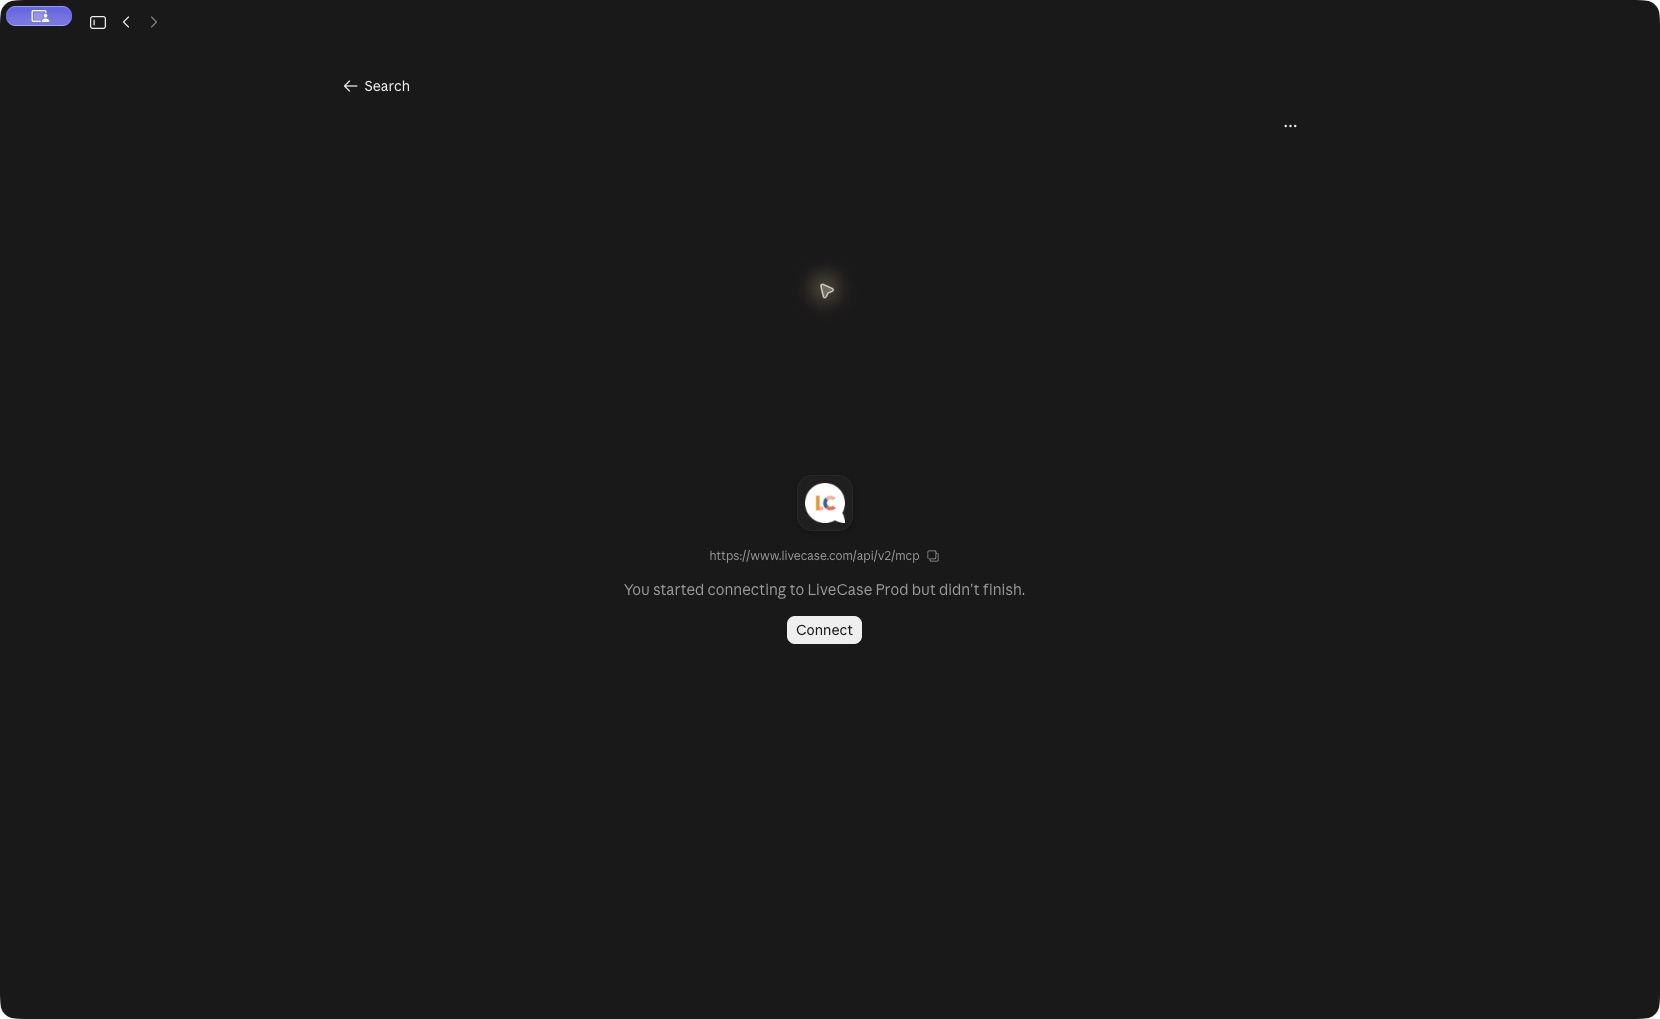
In a conversation, use + > Connectors to enable LiveCase. See Claude's connection instructions for current menus and workspace requirements.
Claude Code
Claude Code is a separate client from Claude's web chat. For authors already using its terminal interface, add the remote server from the folder where you intend to work:
claude mcp add --transport http livecase https://www.livecase.com/api/v2/mcpOpen Claude Code, run /mcp, select LiveCase, and follow the browser authentication prompts. Return to Claude Code and confirm the server is connected before requesting case content. The command uses the default local scope; add --scope user if you intentionally want the connection available across your projects.
These steps use Claude Code's OAuth support. Follow Anthropic's MCP instructions if your installed version differs. You do not need to paste a LiveCase password or access token into the command.
Grok
To connect LiveCase in Grok's chat interface:
- Open Grok Connectors.
- Choose New Connector, then Custom.
- Enter
https://www.livecase.com/api/v2/mcpand complete the required LiveCase authentication. - Return to a conversation and ask Grok to list the cases you can author without changing anything.
For Grok Business or Enterprise, a team administrator must first add the custom server through Grok Business > Connectors in the cloud console. Members can then connect their own accounts.
See Grok's connector instructions and workspace connector management. Confirm the connection with the read-only check before requesting edits.
Grok Bot
Grok Bot can add a custom MCP server through a conversation. Ask:
Add the LiveCase MCP server at https://www.livecase.com/api/v2/mcp using Streamable HTTP and OAuth. Help me complete the connection. Do not create or edit any cases yet.
Review the proposed connection and complete the LiveCase sign-in when prompted. Send a new message after setup to ask for the read-only case list. Cursor's support team documents this chat-based custom connector setup.
Use Connect apps to inspect installed connections and resolve any authentication request. Availability may depend on your account and team policies. See Grok Bot's connected-app guidance.
Codex
In the Codex CLI, add LiveCase and start OAuth sign-in:
codex mcp add livecase --url https://www.livecase.com/api/v2/mcp
codex mcp login livecase
Complete the browser sign-in, then start a conversation and ask Codex to list the cases you can author. Adding the configuration alone does not confirm that authentication succeeded. If you use a packaged LiveCase plugin in your Codex app, connect that plugin instead of creating a duplicate server entry.
See OpenAI's MCP configuration guide for client-specific settings.
Cursor
For a project-specific connection, merge this entry into .cursor/mcp.json. Preserve any servers already in the file:
{
  "mcpServers": {
    "livecase": {
      "url": "https://www.livecase.com/api/v2/mcp"
    }
  }
}
Open Customize > MCPs, confirm LiveCase is enabled, and follow its OAuth authentication prompt. Then use it from an Agent conversation. A global configuration can instead be placed in ~/.cursor/mcp.json. See Cursor's MCP guide for the current interface and configuration options.
OpenClaw
For OpenClaw installations with native MCP support, open the Control UI's Settings > MCP, choose Add server, name it LiveCase, select Streamable HTTP, and enter the LiveCase server URL.
Configure OAuth for the server using the scoped configuration editor (auth: "oauth"), then use Sign in when available. Follow the installation's authentication instructions if sign-in must be completed through its terminal. After connecting, ask the agent for the read-only case list.
See OpenClaw's MCP connection guide for version-specific setup and authentication. An administrator may need to configure the connection for a managed installation.
Other agents
LiveCase is not tied to one AI model or chat application. Other clients can connect when they support remote MCP over Streamable HTTP and a compatible authentication flow. A client's support for local MCP servers alone is not sufficient.
Use these connection details in that client's own setup process:
- Connection name: LiveCase
- Server URL: use the LiveCase server address above.
- Transport: Streamable HTTP
- Authentication: OAuth, using your LiveCase account
If a client only accepts a bearer token, ask LiveCase about an appropriate connection method before proceeding. Do not substitute your account password. Once connected, verify access with the same read-only check below. Client menus, availability, and tool permissions vary; a saved server entry is not proof of a working connection.
Start with a read-only check
Begin with a small request to confirm that the connection uses the right account:
Use LiveCase to list the cases I can author. Do not change anything.
Then select a case explicitly:
Select “[case title]”. Confirm its title and link, then summarise its structure and learning objectives. Do not edit it yet.
LiveCase works with one selected case at a time. Selection can persist between conversations, so confirm the active case whenever you start work or switch projects. If several cases have the same title, use the case link or identifier to distinguish them.
Develop a case around your teaching purpose
Give the assistant the audience, objectives, available teaching time, and central dilemma. Ask for a proposal before requesting changes in LiveCase.
Help me design a 30-minute MBA case about allocating resources under uncertainty. Learners should compare competing stakeholder interests and justify a decision using incomplete evidence. Consult LiveCase's authoring guidance and available templates, then propose a scenario and episode outline. Do not create anything until I approve the outline.
Once you have reviewed the proposal, ask the assistant to create a new case and build the agreed content. Retrieving a template provides guidance; it does not automatically create a case.
Work in manageable stages: objectives and dilemma, characters and structure, interactions and feedback, then debrief and teaching notes.
Revise and review existing content
The connection can work with characters, episodes, chats, badges, characteristics, debriefs, case information, teaching notes, and images. It can also consult the available chat types and authoring guidance.
Try a focused request:
Read the opening episode. Propose revisions that make the learner's role and decision clearer while preserving the facts and learning objectives. Show me the proposed changes before saving them.
Or examine the assessment design:
Review the choices, feedback, badges, and characteristics in this case. Identify where the scoring or branching may conflict with the learning objectives. Report your findings without making changes.
For a broader review:
Run LiveCase's case quality review on the selected case. Retrieve the complete review, explain the findings with examples from the case, and propose a prioritised revision plan. Do not apply changes yet.
The quality review is advisory. Check its recommendations against your subject expertise, intended learners, and teaching context.
Review saved changes in LiveCase
An instruction to create or update content can change your saved case. A discussion in the conversation is different from a successful authoring action. Ask the assistant to report what it saved and provide the case link.
Before deleting content or approving a substantial revision, review the exact scope. Deletions cannot be undone through the MCP tools.
Open the case in LiveCase and check the learner experience, alternative paths, scoring, factual accuracy, and debrief. The connection does not provide a publishing tool. Use LiveCase's publishing workflow after reviewing the draft.
If something does not work
- The connection option is missing: check your AI workspace's permissions with its administrator and consult the provider instructions above.
- Your case is missing: confirm that you connected the correct LiveCase account and that it has author access to the case.
- The assistant is using the wrong case: ask it to select the intended case explicitly and confirm the title and link before continuing.
- The connection has expired: reconnect through your AI application's plugin or connector settings, then repeat the read-only check.
- An edit is refused: check the requested tool permissions and the error message. Do not assume the change was saved; ask the assistant to read the affected content back.
- You need session management or learner results: use the LiveCase application. These are outside the authoring tools provided by this connection.
When you no longer need the connection, disconnect or remove it through your AI application's plugin or connector settings.